For each of the iconic Zahns buildings, I used Blender (a 3-D modeling tool) to build an accurate 3-D model, then apply photo textures to make the models as realistic as possible.
Here’s how Sig Uyldert’s shanty was built:
Wireframe
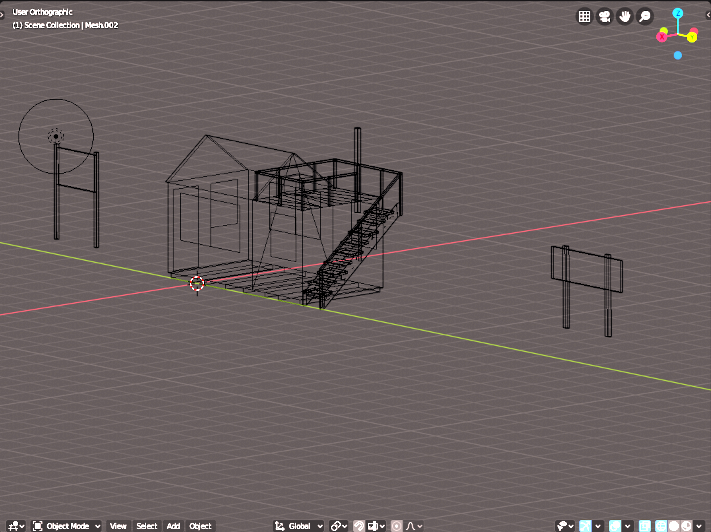
Vintage photos provided quite a bit of detail on the size of the structures. Here is the wireframe, as it appears in Blender modeling tool.
Accurate longitude and latitude references from HistoricAerials.com also provided a good deal of information (especially for the larger structures).
Shading
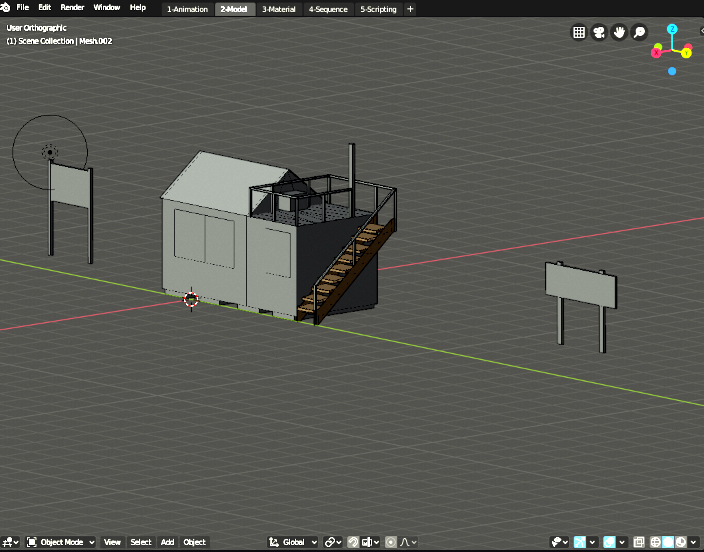
Shifting between the wireframe view and the shaded (“solid”) view helped me build a more accurate model.
The dotted circle at the far left is the light on the corner of Sig’s sign. At night in the simulation, the light illuminates the sign.
Texturing
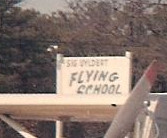
“Texturing” is applying photos (or pieces of photos) to a model, to give it a very realistic appearance.
Even a few black-and-white photos can provide a good deal of useful information.
Most of the Zahns photos were black-and-white prints, however a number of color slides survived.
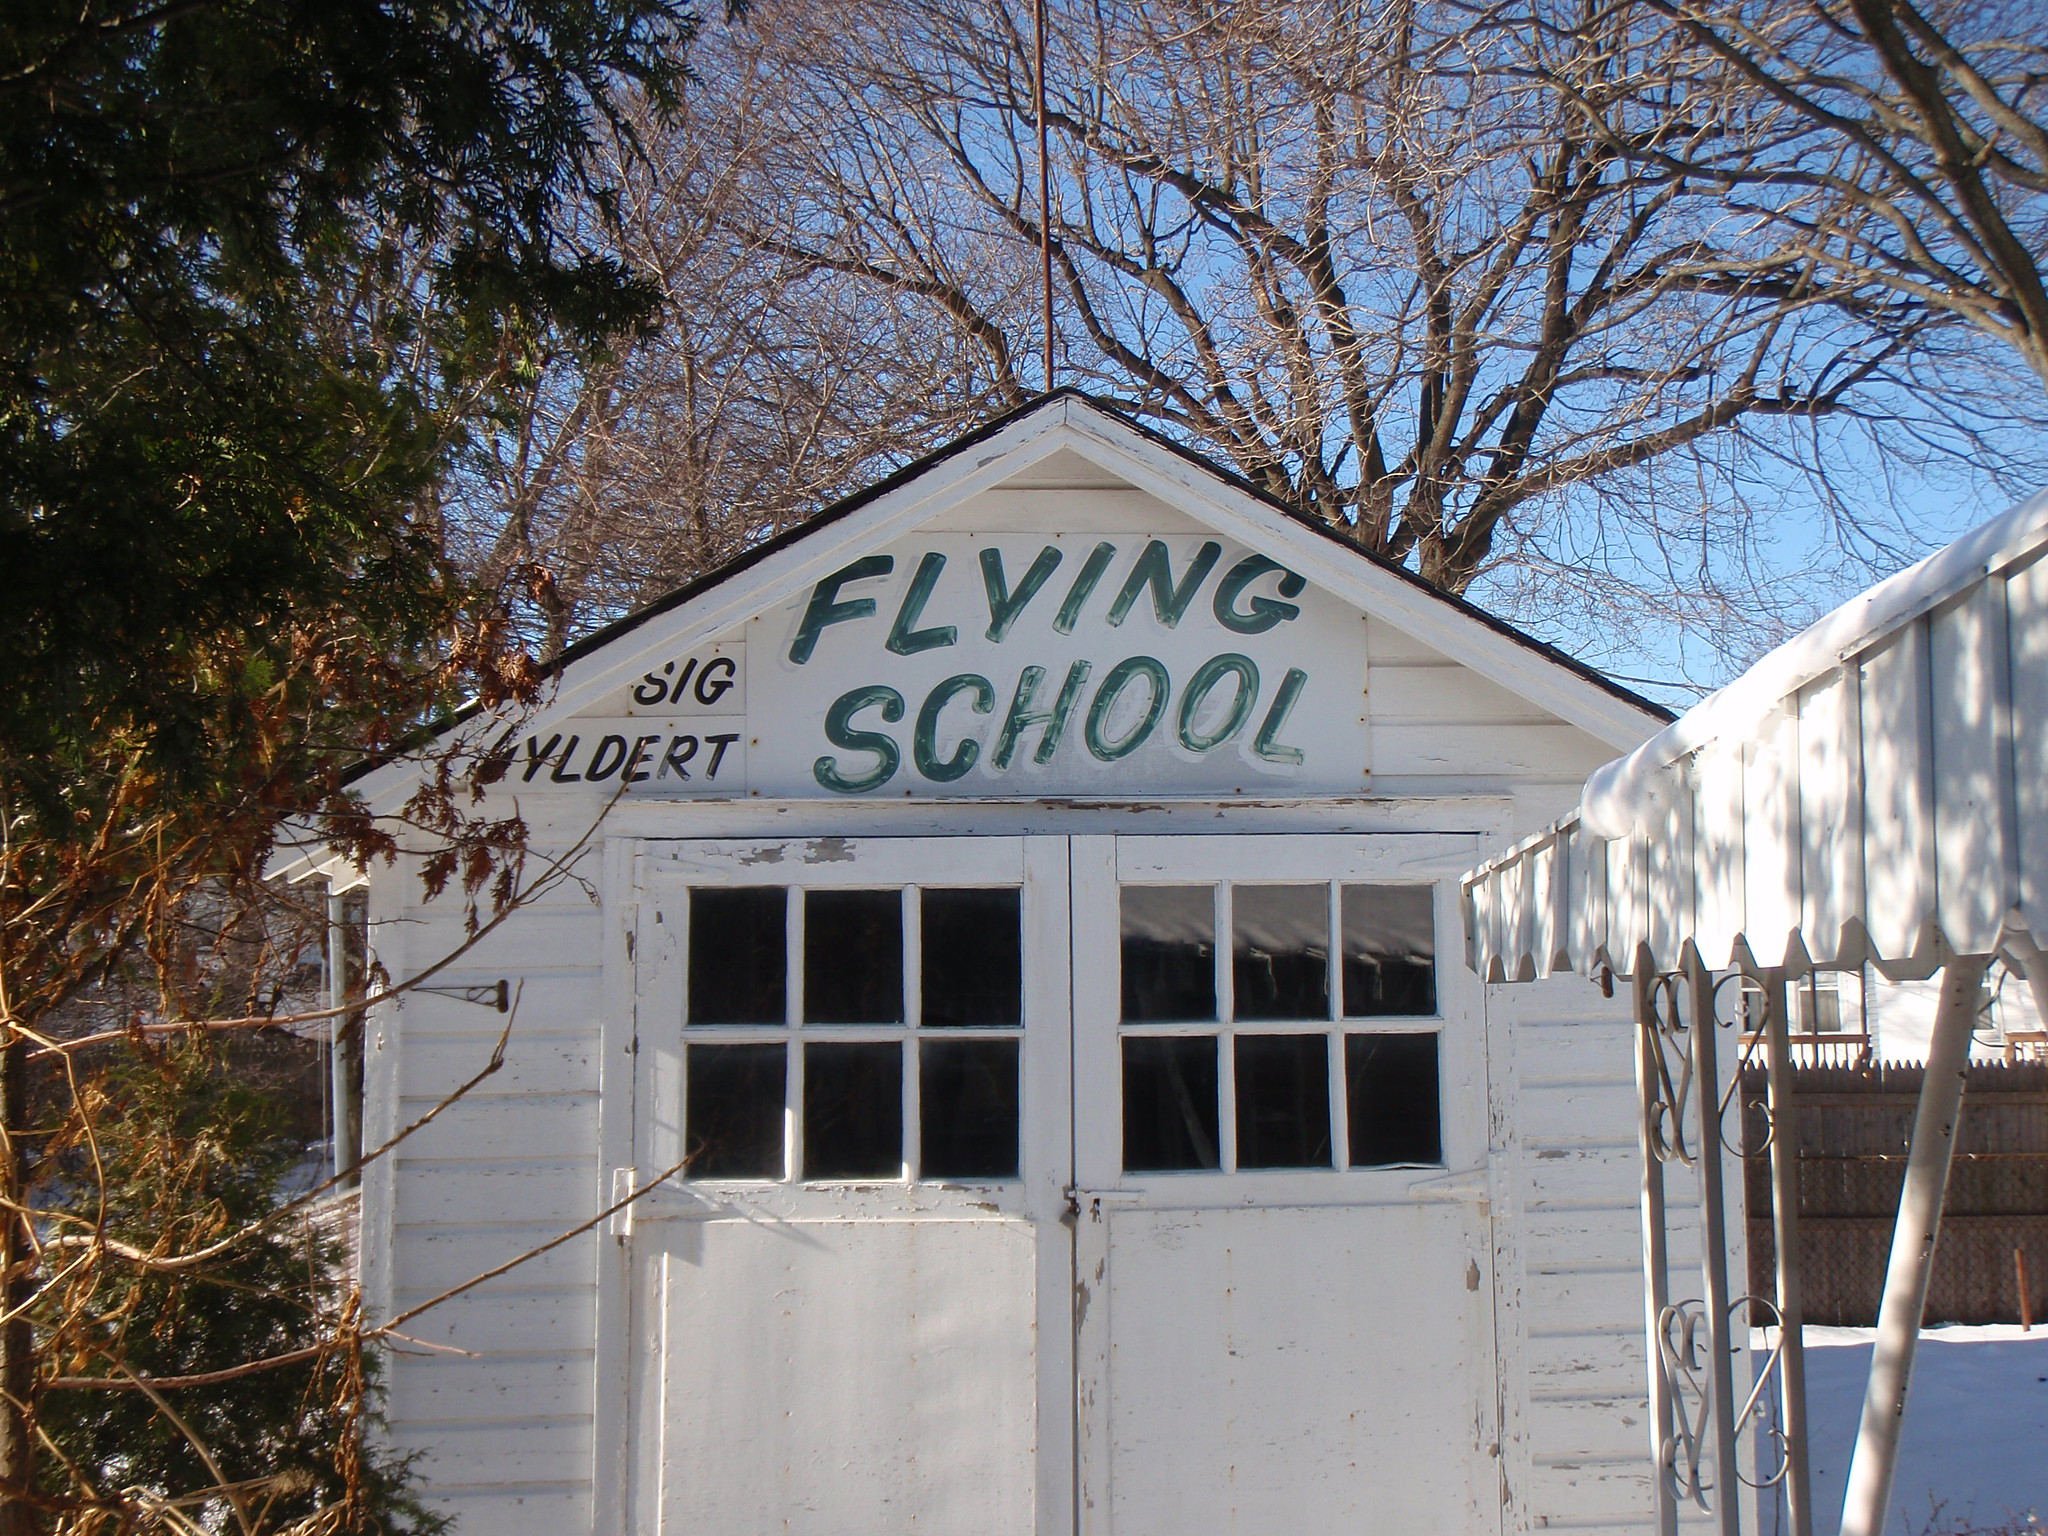
Sig Uyldert’s sign itself survived, and currently adorns a garage on Long Island, NY.
More Models
Sig Uyldert’s shanty was just one of dozens of models created for the project. You can see (and manipulate) others on the 3-D Models page.